What You Need
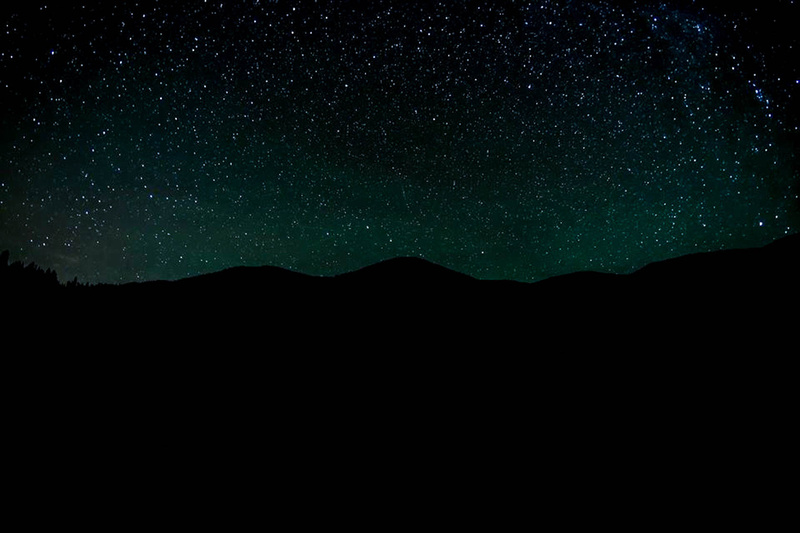
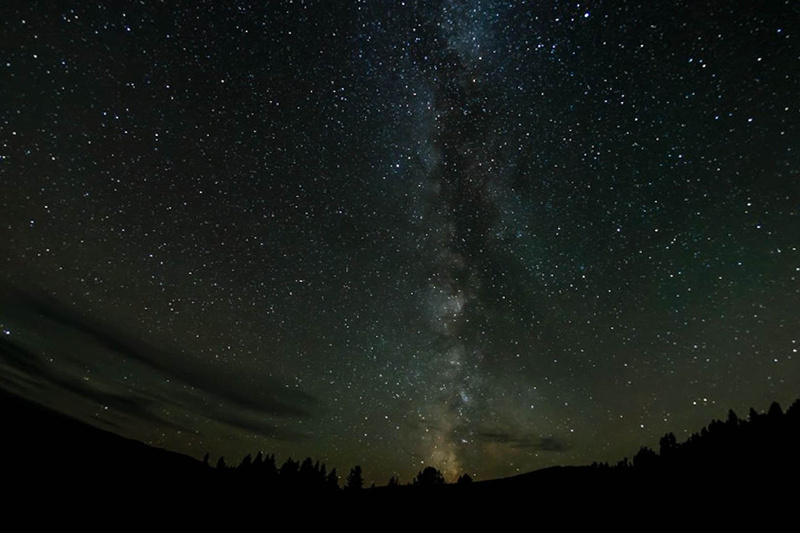
#1 The number one key element to capturing the night sky, Milky Way, or stars in general is having a dark sky, and I mean the darkest sky possible. Please note, if you can’t see the Milky Way with the naked eye, it will be very hard to capture it any better on camera.
#2 The next equally important step is checking the moon phase. If there is a moon in the sky, by no means will the stars appear to shine as bright. Our moon is much closer than any of the stars seen in the night sky, therefore it appears to shine much brighter. Shooting on nights of the New Moon ensures that the moon is not visible in the sky and that the Milky Way appears as bright as possible.
#3 The third crucial item is a very sturdy tripod, this is one of the steps that many people miss out on and therefore sacrifice the quality of their star shots.


Lens & Camera advice. If you are looking to get into star photography and are not sure what kind of camera or lens to select there are a few pointers to keep in mind. First off, if your wallet is deep enough a full frame camera with a 35mm sensor is the best way to capture the night sky, a medium format camera will also work wonders but comes with an even higher price point
Moving along to lenses there are a few major points that need to be touched on. Having a lens with an aperture of f/3.5 or faster is absolutely necessary for capturing the Milky Way, for star trails it is not at all necessary. Here are a few great lenses that will work wonders on your full or crop sensor camera. I consider the NIkkor 14-24 F/2.8G wide angle lens to be the best star photography lens on the planet, I use it for 95% of my star shots and it never fails. Another yet cheaper option would be the Rokinon 14mm f/2.8 or the Rokinon 24mm f/1.4. I have also been experimenting with my Nikkor 16mm f/2.8 Fisheye which seems to do a fine job less the insane amount of distortion, which at times can look very cool and out of this world.


I currently shoot my night shots with a focal length of 14-24mm, ISO ranging from 3000-5000 (depending on your camera these high settings may increase the noise exponentially) and shutter speed of 30 seconds. Keep in mind, a longer exposure picks up more light, which in turn means you will see stars that are farther and farther away from our planet. On the other hand light sources closer to our planet will appear brighter at longer exposure times. It is key to play around with the Big Three: aperture, ISO, and exposure time until the correct setting is achieved. Each of these settings directly reflects on one another, this being said there are many different combinations that will yield great results. The trick is to find out what works best for you and your camera, there is no right or wrong way to do it, just good and bad results.
Focusing at night can also become difficult. I find it easy to focus at infinity, take a practice shot to see how it looks then adjust focus from there. Usually infinity works just fine.


Post Processing
Lightroom edits. When it comes to post processing star shots I use a few tools, the first being Lightroom 4. Lightroom can be used for basic RAW file conversion, color correction, basic luminosity control, contrast, sharpening and noise reduction. These can all be performed using the simple slider interface that is provided with the program. Experimentation is once again the best way to find the best settings that work for you. I hope this was helpful, Thanks for reading!